
HOW TO REMODEL YOUR BATHROOM FROM START TO FINISH
A bathroom makeover is an easy way to reinvigorate your life and increase the value of your home. But before you break out the tape measure, you should take the appropriate amount of time to plan out your bathroom renovation. After all, if you want to make a big change, then you need to start by making some big plans.
How Much Will It Cost?
Bathroom renovations can cost anywhere from a few thousand to over ten thousand dollars. The best way to cut costs and get the most out of your budget is to commit to a DIY approach. Online tutorials and instructional videos offer a bevy of information on Do-It-Yourself renovations and home remodeling, so don’t be afraid to dream big and create the bathroom that you’ve always dreamed of. Just don’t do anything too far outside of your comfort zone. Always use precaution and use appropriate safety materials before beginning in-home renovations.
If you’re thinking about starting a home renovation, then there’s never been a better time to check out our step-by-step guide to DIY bathroom remodeling. Read more to learn how you can start designing the bathroom of your dreams.
Getting Ready to Remodel
Finalize your Design
Before you can realize your vision, you have to settle on a final design. Will it be a simple shower and bath resurfacing? Or will you go big and bold with a full, top-to-bottom remodeling? Sometimes you want to keep something special but other times you just have to change it all.
No matter what design you settle on, here are a few things you absolutely have to consider when you’re designing your bathroom:
Palette: Colors almost always need an update. Whether it’s a subtle accent or a powerful hue is your choice but don’t forget to weigh your options and try different swatches. See how your colors pair with the aesthetic of the different fixtures and decor in your design.
Centerpiece: Every bathroom has a focal point. When you’re deciding which fixture to choose remember that you’re not just making a bathroom — you’re making a statement. Be creative but also be contextual. Remember where the piece is going and make plans to accentuate it.
Wiring: Renovations can get aggravating (and expensive) if you’re not mindful of the wiring and plumbing in your bathroom. Mitigating mistakes is a huge part of a successful remodeling. The best way to protect yourself (and your wallet) is take all safety precautions and don’t take any risks. Consult a professional plumber or electrician if a task is outside of your skill set or comfort zone.
Gear Up
As a proud homeowner, you probably already have an assortment of tools at your disposal. But unless you’re a part-time contractor, then you might need to pick up a few things. Below is a list of must-have items for anyone looking to make the transition from homeowner to DIY master.
Quintessential Tools for a DIY Remodel:
Safety mask
Gloves
Goggles
Caulking gun
Silicone sealant
Hammer
Tape measure
Spackle knife
Spackle
Stud finder
Power drill
Pry bar
Bucket
Chisel
Adjustable wrench
Flathead screwdriver
Hacksaw
Utility knife
Chalk line
Extension cord
Steps to Remodel a Bathroom
1. Decide and Demolish
The amount of demolition depends on the type of renovation. A full remodel is obviously going to require more removal than a simple shower swap. But before you do anything, you need to check out this list of do’s and don’ts to avoid making costly mistakes during the demolition phase.
How to Gut a Bathroom:
Drain the toilet to prevent any unwanted spills or mess.
Next, if you’re removing your bathtub, cover up the fixture with a tarp or drop cloth and start removing the bath tile until you reach the studs below. This is necessary for later when you’ll reconnect the new fixture.
Remove the insulation from your walls where necessary in your design. Be careful not to use a hammer on the drywall, instead use a reciprocating saw to cut out the panels individually. Be sure to use a safety mask, gloves, and goggles while performing this step.
Finally, remove cabinets, vanities, mirrors, floor tiles and any other items you plan to replace during the remodel. When removing tile flooring, it’s a good idea to remove the baseboards and reinstall them later. This will guarantee an even, dent-free surface at the end of your renovation.
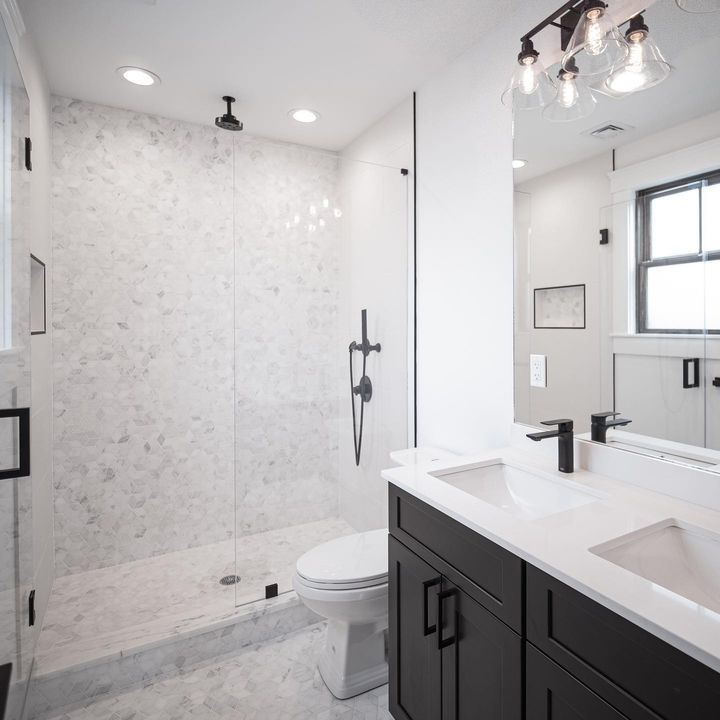
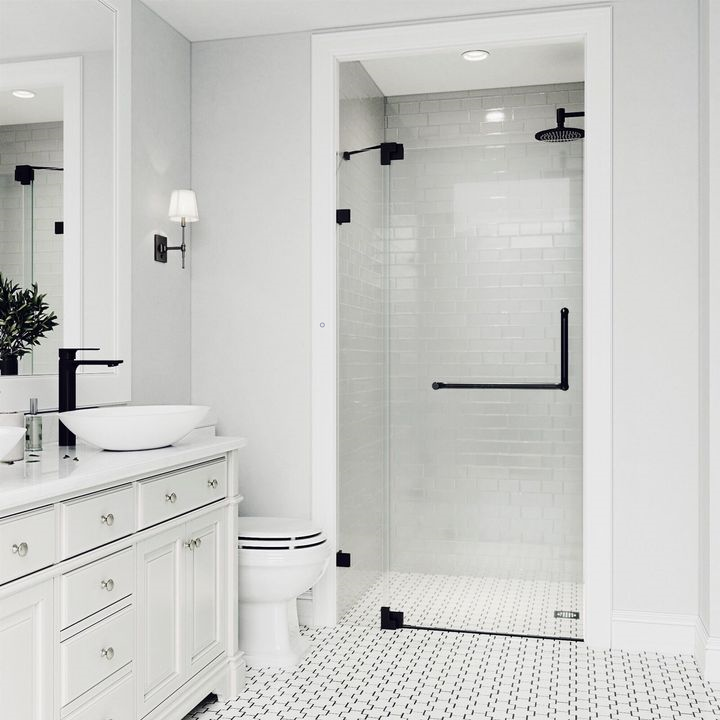
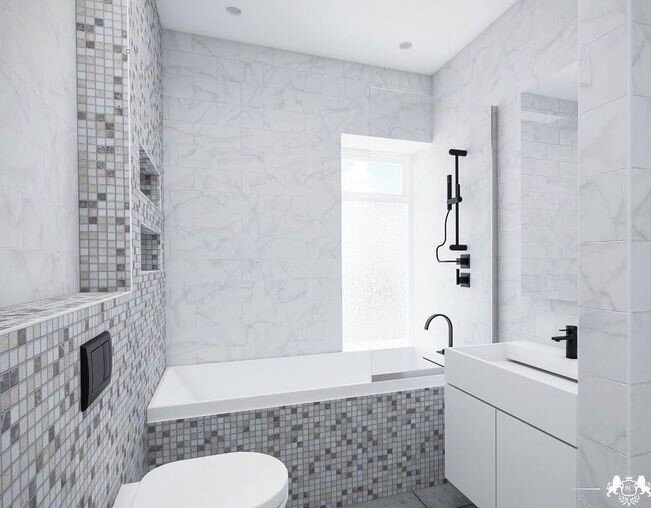
2. Install Your New Shower Or Tub
After you’ve gutted your bathroom, its time to install your new faucets and fixtures. For a shower or tub replacement, be sure to pick a pan or basin that fits your new aesthetic, as well as the space where your current tub sits. Remember that context is just as important as color.
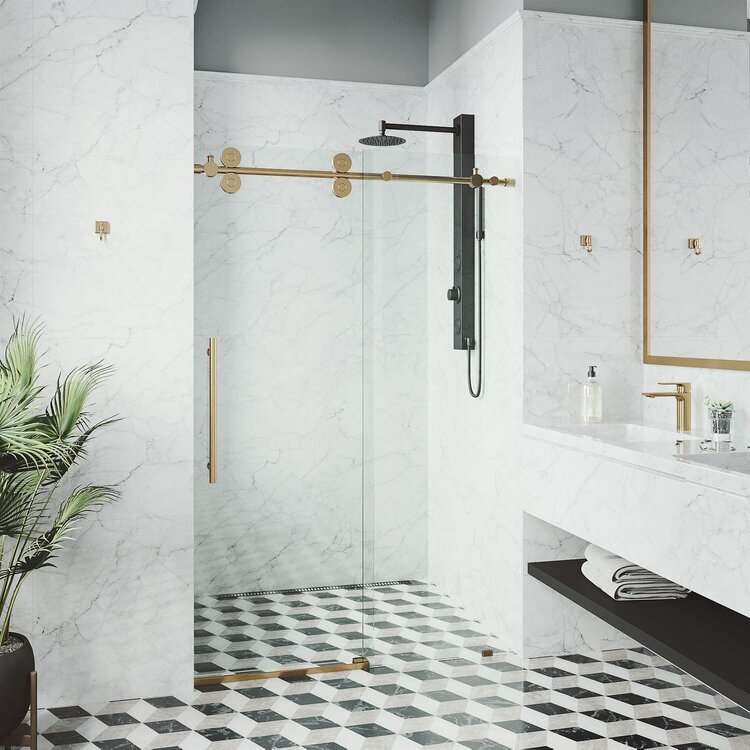
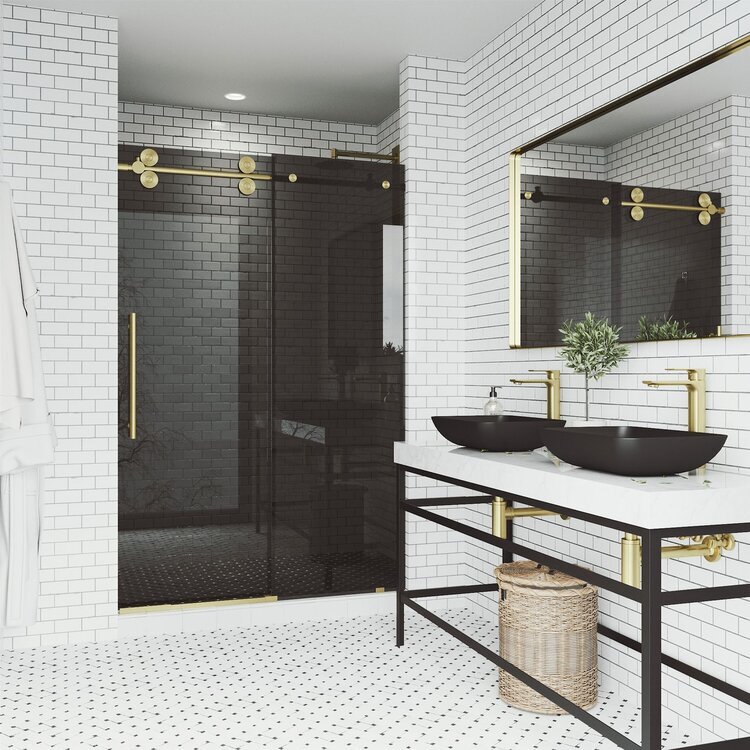
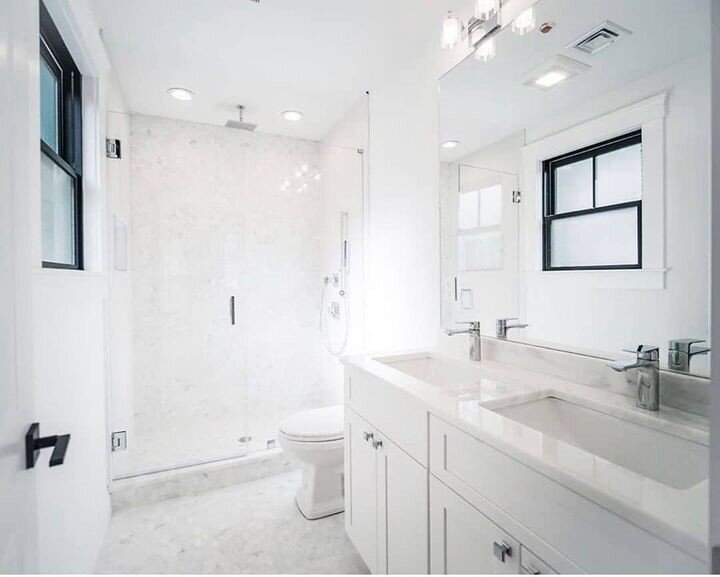
Remodeling a Shower. Remaking a Space.
In terms of shapes, you generally have three choices:
Rectangular
Square
Pentangle (base with one corner cut off)
The base shape you choose will play a crucial role in determining the layout and look of your design. Keep in mind that your door swing can sometimes be adjusted but your door frame cannot. Some things are set in stone and a great designer knows how to work with what’s there. Make sure you take the different characteristics of your bathroom into account before. Depending on the size, you may desire a combination bath and shower. Or perhaps a more subtle pair of a shower doors.
Look through the VIGO Elan Frameless Sliding Shower Door. With its classic roller sliding door and sleek modern design, the VIGO Elan Frameless Sliding Shower Door provides the ultimate contemporary design for your bathroom.
**Warning: If there are any signs of rot or water damage to your sub floor, then be sure to replace it before moving forward with the next stages in your design.
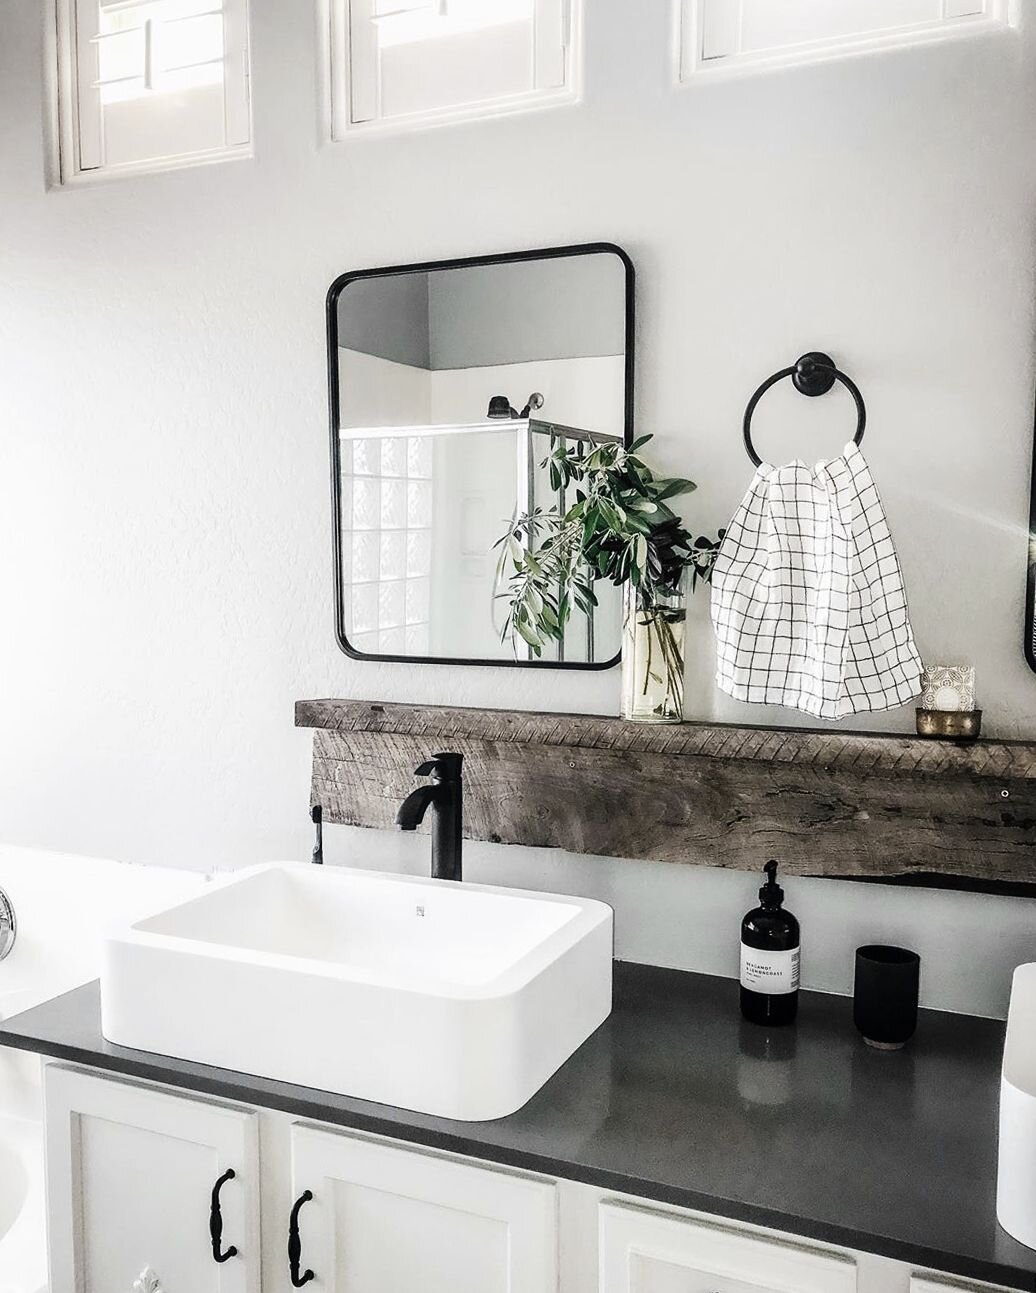
3. Faucets, Fixtures, and Features
With the shower out of the way, now you can focus on installing your new vanity and cabinets. If the dimensions for your new fixtures is different that your previous setup, then you’ll need to make adjustments to the wiring.
Typically, this means that you’ll have to relocate the GFCI (Ground Fault Circuit Interrupters) and other power outlets. Consult a electrician to make sure that all electrical outlets are safe, accessible and at an appropriate height. If you’re comfortable doing home wiring, then you may be able to complete this step by yourself but always err on the side of caution and remember there’s no shame in asking a professional for help.
4. New Tiles. New Bathroom.
A new floor can transform your bathroom. No renovation is complete without a new set of floor tiles. Whether you choose a more rustic look with recycled tiles or a decadent look with fresh tiles and marble finish, there are some steps that every DIYer should follow. Before you start grinding away, begin with some preliminary measurements. Use a mason’s chalk line to mark reference mark at 90-degree cross sections. Use a perpendicular facing wall to act as a guide for making this chalk grid. Making these reference lines is the best way to plan out your pattern and to ensure that your tile job doesn’t have a crooked finish.
5. New Drywall and Paint
Now your bathroom makeover is really starting to come together. The hard stuff is done, now it’s time to make your dream bathroom a reality. The next step is drywall. Making the right measurements around your new vanity and cabinetry can be tedious and time consuming, but once you begin to hang the drywall, the process should move quickly.
Drywall Tips of the Trade:
Use drywall mud and tape to cover seams and fill in gaps.
Use cement board instead of drywall for the shower/tub wall.
Coat the cement board with a waterproofing membrane to guard against water damage.
Once the drywalling is complete, then it’s finally time to start painting. Paint is one of the cheapest, most effective ways to renovate and upgrade your bathroom. Give your space the shade you’ve been dreaming of with a few coats of your favorite colored semi-gloss paint. A finish with a sheen is best for your bathroom because it’s more resistant to mold and mildew.
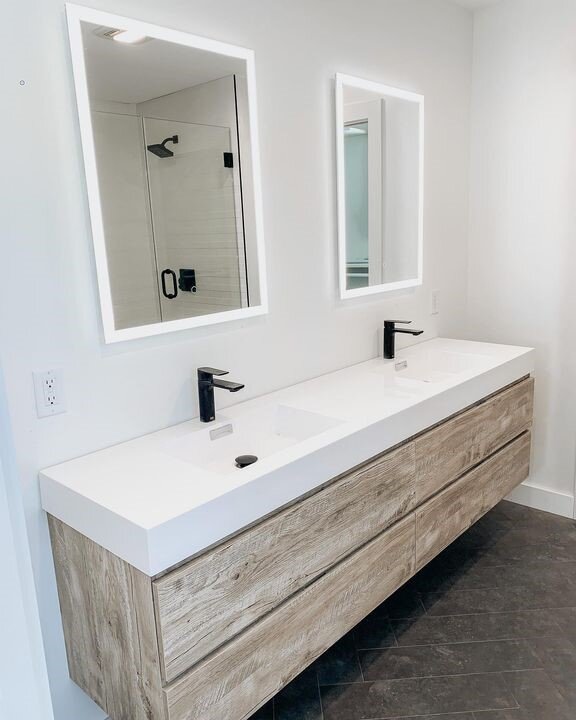
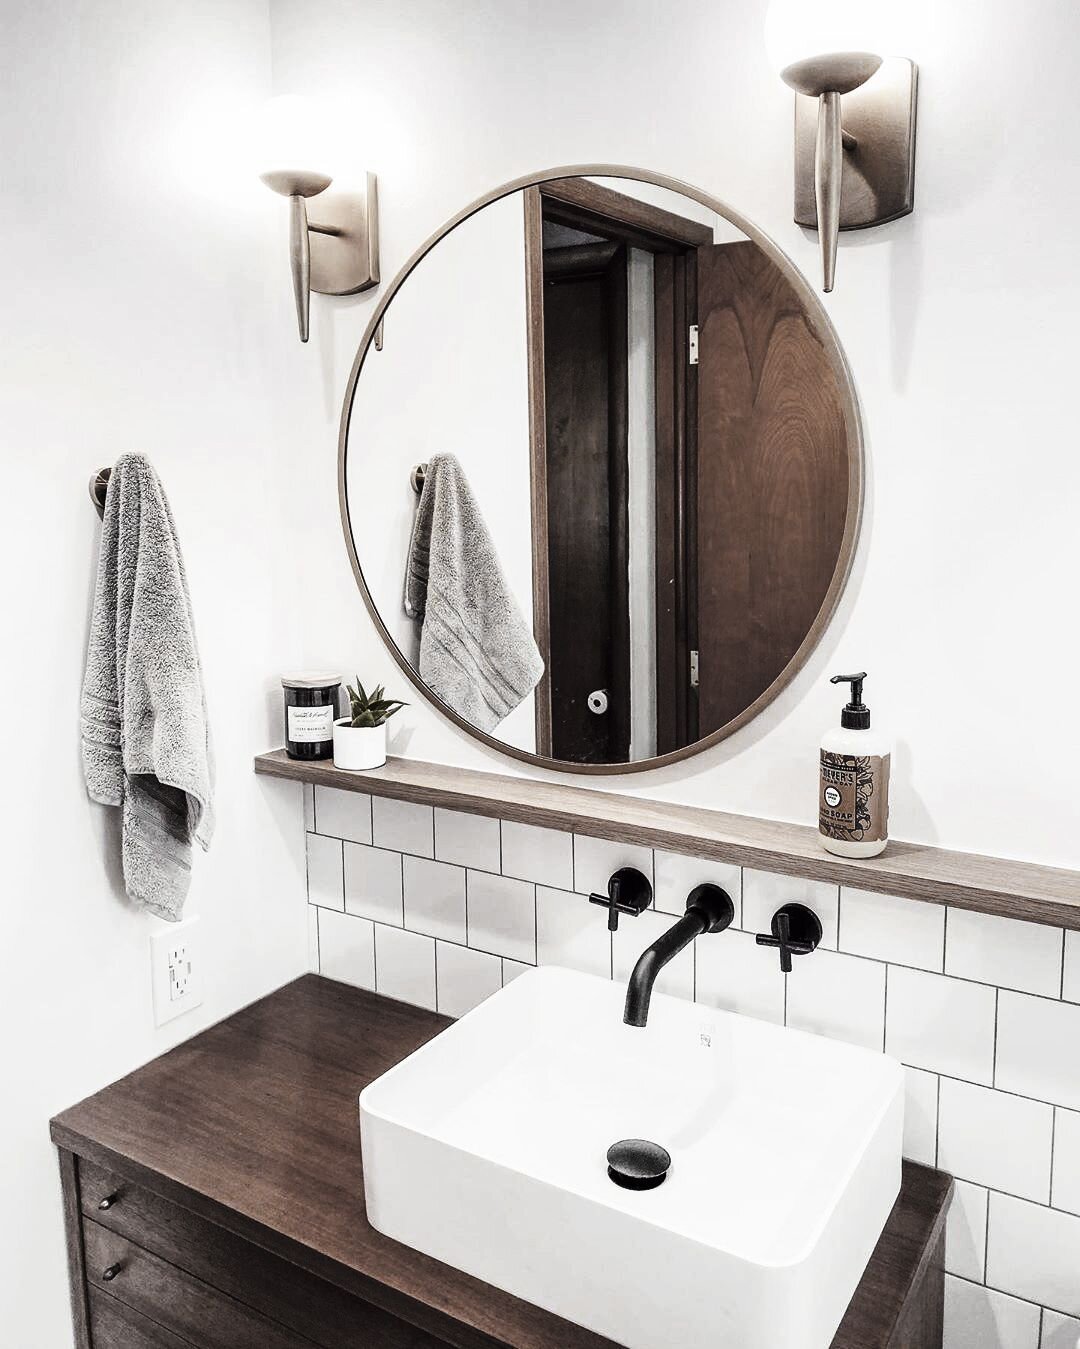
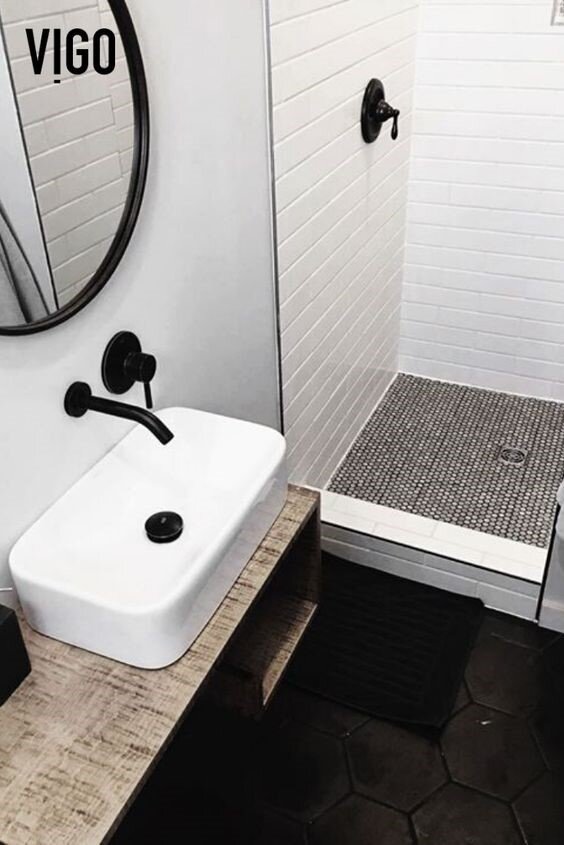
6. Vanities and Cabinets

Once the walls are painted and the new lighting fixtures have been installed, then it’s time to finish this job by installing the vanity, screwing in the cabinets, and crossing off anything left on your renovation checklist.
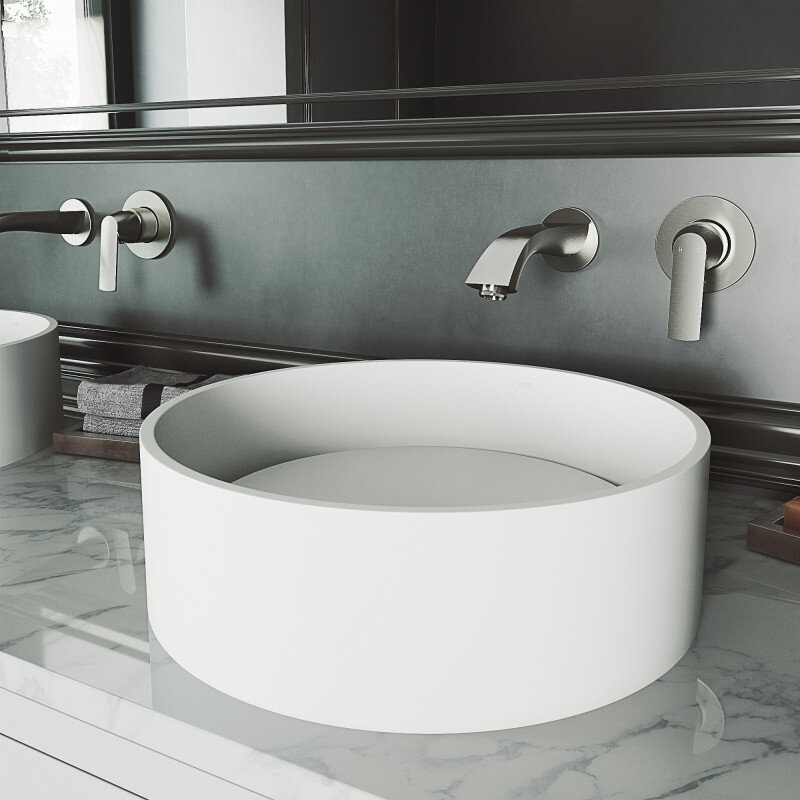
Start with the vanity, faucet, and sink. Nowadays the selection of faucets and fixtures is nearly limitless. If you’re looking for a stylish and timeless look, then perhaps you should consider the new VIGO Matte Stone Bathroom Collection.
Once the drain is connected to the faucet, then you can move on to the other features such as the mirror, cabinets, and finishing trim.
7. Checking the Plumbing
That’s it, right? Wait, we just forgot one thing: the toilet. You can reinstall the toilet earlier in the process if you’re still using the bathroom during the renovation. We recommend waiting until the final step to install the toilet to avoid chipping and damage to your new kingdom’s porcelain throne.
Final Touch
The trim is the essential final touch that every renovation and remodel needs. Once everything is back in place and situated, install custom fit pieces of trim around baseboards, the mirror, and anywhere else that you — the homeowner — deems necessary. This is, after all, your home. And your new bathroom.
The real final step is to give yourself a much deserved pat on the back. Because you did it all by yourself.